I was watching the MS Build 2018 Keynote speakers,specifically @DonovanBrown and his DevOps presentation, and it got me interested in AKS (Azure Kubernetes Service), so I decided to take a quick look at what video tutorials were available because I have been playing with Docker and Kubernetes without the aid of Azure and its a little painful. That led me to this video.
I was following what Jessica was laying down and she arrived at this screen,
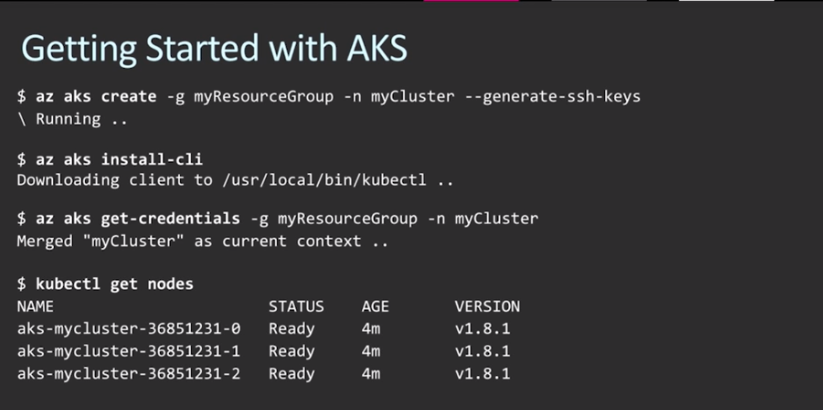
… and I thought, that looks simple enough.
Step by Step
“4 Steps, 3 if you don’t count the kubectl ” – Jessica
Install Azure CLI
(because I didn’t have it yet)
First thing I would need to do is install the Azure CLI. Sounds easy enough, google it, download the version I need , and install ( I had no issues here).
Then I can launch the Azure CLI (installer will leave a shortcut in your windows Menu) and there I arrive at a command prompt screen.
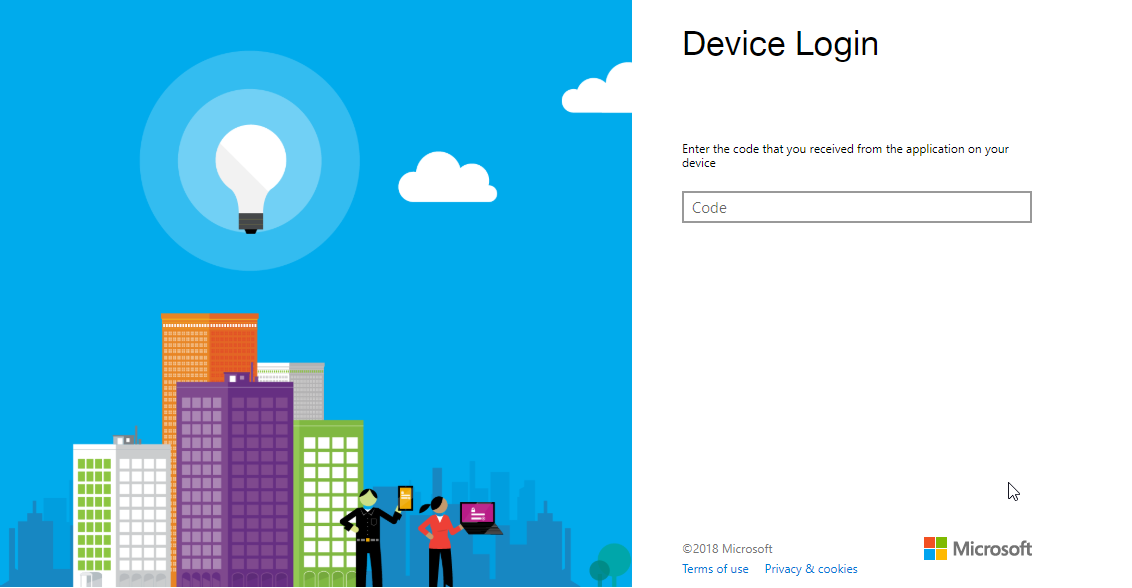
Now I need to login to Azure, so I need to connect my device to my azure account:
az login
To sign in, use a web browser to open the page https://microsoft.com/devicelogin and enter the code 8CHARACTERS to authenticate.
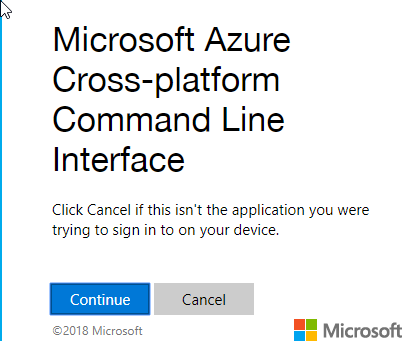
Then pick the azure login (no screenshot , and if you aren’t logged in you will need to do so ).
and finally you arrive here.

Let’s try to run that first command we saw.
AKS Create
>az aks create -g MyResourceGroup -n anyNameIWant --generate-ssh-keys
The provided location 'westus' is not available for resource type 'Microsoft.ContainerService/managedClusters'. List of available regions for the resource type is 'eastus,westeurope,centralus,canadacentral,canadaeast'.
Hmm.. so it turns out that only certain regions have AKS capability and my resource group was not in one of those regions. Ok, time to go create a new resource group.
https://docs.microsoft.com/en-us/azure/azure-resource-manager/resource-group-portal
I created a new Resource Group in eastus as suggested by the error message, and the I tried again.
This time around I got another error that resource providers weren’t enabled for Microsoft.Compute and Microsoft.Network.
So I googled for a bit and discovered that Resource Providers were set at the Subscription level and not at the resource group level (which after seeing what is available, made sense).
So go into your Subscription >> Resource Providers, then find the resources that are missing and register them. That took about 10 minutes while I waited.

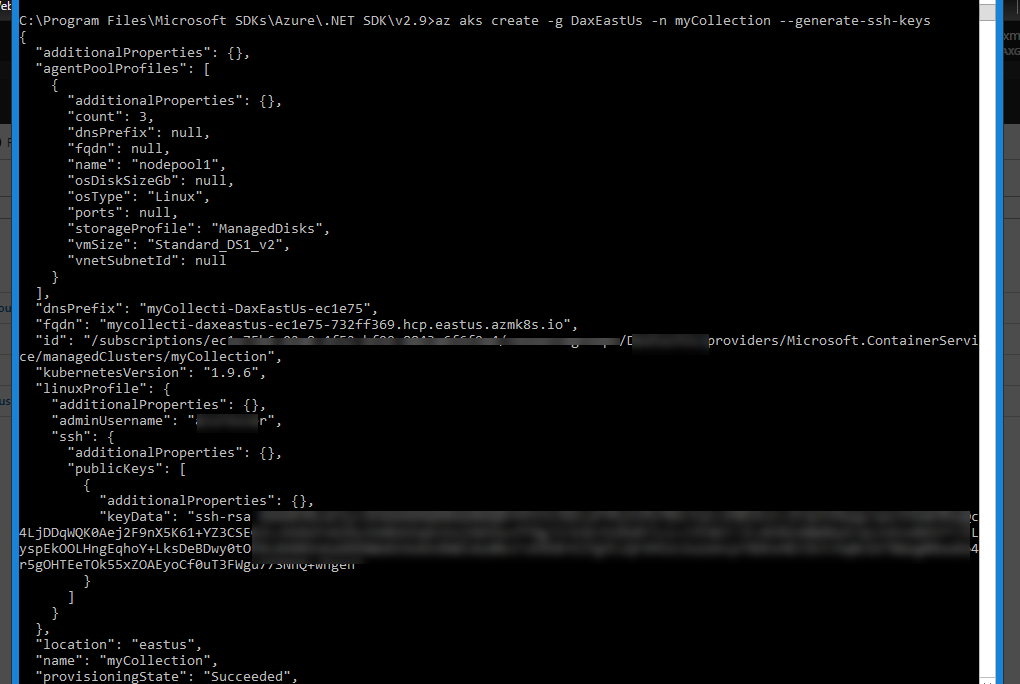
Finally, for the first time in about an hour, I was able to run that first line of code.
C:\Program Files\Microsoft SDKs\Azure\.NET SDK\v2.9>az aks create -g DaxEastUs -n myCollection --generate-ssh-keys
 - Running ..
And it just sat there for , forever…
I killed it , and ran it again, and for what felt like an eternity I waited. I was about to kill it again and go find an alternative route when it completed, providing some additional information. Great!
Install the aks cli
Lets run that command.
C:\Program Files\Microsoft SDKs\Azure\.NET SDK\v2.9>az aks install-cli
Downloading client to C:\Program Files (x86)\kubectl.exe from https://storage.googleapis.com/kubernetes-release/release/v1.10.2/bin/windows/amd64/kubectl.exe
Connection error while attempting to download client ([Errno 13] Permission denied: 'C:\\Program Files (x86)\\kubectl.exe')
Once again another small mishap. Looks like if we don’t run Azure CLI in
administrator mode it can’t save\run certain files. Since I am too much of a newbie to know how to configure where temp files run\save, I am going to force run it as an admin.
C:\Program Files\Microsoft SDKs\Azure\.NET SDK\v2.9>az aks install-cli
Downloading client to C:\Program Files (x86)\kubectl.exe from https://storage.googleapis.com/kubernetes-release/release/v1.10.2/bin/windows/amd64/kubectl.exe
Please ensure that C:\Program Files (x86) is in your search PATH, so the `kubectl.exe` command can be found.
Success. For good measure I ran kubectl from another command prompt and was able to get it to run.
Now the 3rd step.
Get Credentials
C:\Program Files\Microsoft SDKs\Azure\.NET SDK\v2.9>az aks  get-credentials -g ****** -n myCollection
Merged "myCollection" as current context in C:\Users\daxmax\.kube\config
Ok, that looks good , no issues! Final step.
Get Nodes

Alright; well it took more than just 4 steps but we got it done.